Tags
Software Development
Published
Sep 16, 2022
noBg
noBg
If you follow through this workshop, you will receive a unique animal avatar generated from your user name. It’s kinda like a NFT, though not on a block chain.
Using the CLI
CLI? Shell? Terminal?

We mostly use mouse, trackpad, and graphical user interfaces (GUI) in nowadays. In fact, there’s another way you can do things on a computer that makes you look like a pro: CLI.
CLI stands for Command Line Interface. It’s a quick and powerful interface for developers to communicate with computers to accomplish a wider set of tasks.
To begin, you need to open your shell in a terminal. A shell program wraps around the operating system to expose a human-friendly command line interface. And the terminal displays a graphical interface for users to interact with shells.
Here’s a quick recap:
- Command Line Interface (CLI): receives text commands from a user to communicate with a computer; alternative to graphical user interface (GUI)
- Shell: a program that exposes an operating system's services to a human user or other programs
- Terminal/Console: a program that displays a GUI for users to interact with the CLI
Getting Started
Each operating system ships with different shells and terminals. Some are easier to work with while some are not.
Please install VSCode as well.
Mac
press
command + space to launch Spotlight Search, type terminal.app and hit return. - The default shell on MacOS is called
zsh
Windows
Option 1: WSL (Recommended) - Follow this installation guide
Windows Subsystem for Linux (WSL) allows users to install a Linux distribution (e.g. Ubuntu) on a Windows machine. It provides the best overall developer experience with a native Linux environment. Also, Most servers run Linux as well, so it’s good to familiarize yourself with it.
Option 2: Git Bash
Git Bash bundles many UNIX tools with the most commonly used
bash shell. It provides the nearest experience to Linux on Windows and was the go-to option before WSL was introduced. - Follow these instructions to make sure that
git bashis installed during the process
- Press
windows,typegit bashand pressenter
Option 3: PowerShell
Powershell is the most commonly used shell program on Windows, but many of its syntax is different with Linux’s. So, some of the commands we will use in the following steps won’t work.
- Press
windows, typepowershelland pressenter
Linux
You probably know these stuff already. Kudos to you.
Commands
Print String echo
echo "hello world"
You probably know what this means.
echo just prints the string that follows it. Change Directory cd
cd ~
cd = change directory. This is the command that you will use very often for navigation. ~here stands for your home directory. Every user in the system has access to own home directory but usually not others’.
- You can open the current directory in the GUI
- Windows:
explorer.exe . - Mac:
open .
. here stands for the current directoryKnow Where You Are pwd
pwd
This prints your current path. It should be something like
/home/<your-username>You can use
whoami to get your user name as well. List Directory Content ls
ls
Now you will see what’s in your home directory
- For more verbose output, use
ls -la -luse a long listing format that includes file permissions, owner, date, etc.-aincludes hidden files (e.g. file names that start with a dot.)
Create Folder mkdir
mkdir workshop
This creates a folder (directory) in the current location. Now, if you
ls again, you should see the workshop folder in the output. Change Directory cd path
cd workshop
Now, you are in the workshop folder.
Create File touch
touch hello
This creates an empty file called
hello. Redirect Output >
echo "hello world" > hello
> redirects the output from echo to the file hello.View File Content cat
cat hello
You can use
head or tail to view only a portion of the file.- Add
-n NUMBERto view a certain number of lines only. For example,tail -n 10 server.logonly prints the last 10 lines ofserver.log.
Copy File cp
cp hello world
cp = copy. Now with ls, you should see two files in the current directory. Rename & Move File mv
mv world universe
mv actually means move. Moving the world file to universe is renaming it. You can use this command to move files, too (surprise, surprise)
mkdir metaverse
mv universe metaverse
cd metaverse
ls
We’ve just moved
universe into metaverse and entered metaverse to verify it.Remove File rm
rm universe
Now use
ls to verify that it’s removed. Leave a Folder cd ..
cd ..
.. = parent directory. Now we’re back in the workshop directory. Remove Directory rmdir
rmdir metaverse
However, if this folder is not empty, you will need to use
rm -r-rstands for recursive.
- Add
-fto force remove all files without needing to confirm each action.
PRO TIP: be cautious withrm -rf. Something likerm -rf /could break your system.
Check the Manual man
man curl
This opens the manual for
curl. You can use your arrow key to scroll up and down or type q to quit. This is an alternative to Googling this command. Download File curl
curl http://example.com --output e.html
This downloads the content of this website to a file. You can use
ls and cat/head/tail to see what you have just downloaded. Search Text grep
cat e.html | grep h1
|pipes the output of the previous command to the next.
grephere searches for a line that containsh1in its input.
You should see
<h1>Example Domain</h1> in the output. Clear the Terminal clear
clear
Now everything should be gone!
View History history / ⬆️ / ⬇️
You can use your up & down arrow keys to find the previous commands you typed.
history will print all your history commands. With what we’ve just learned, you can use
grep to search for a command you typed history.history | grep "curl"
Recap
Resources
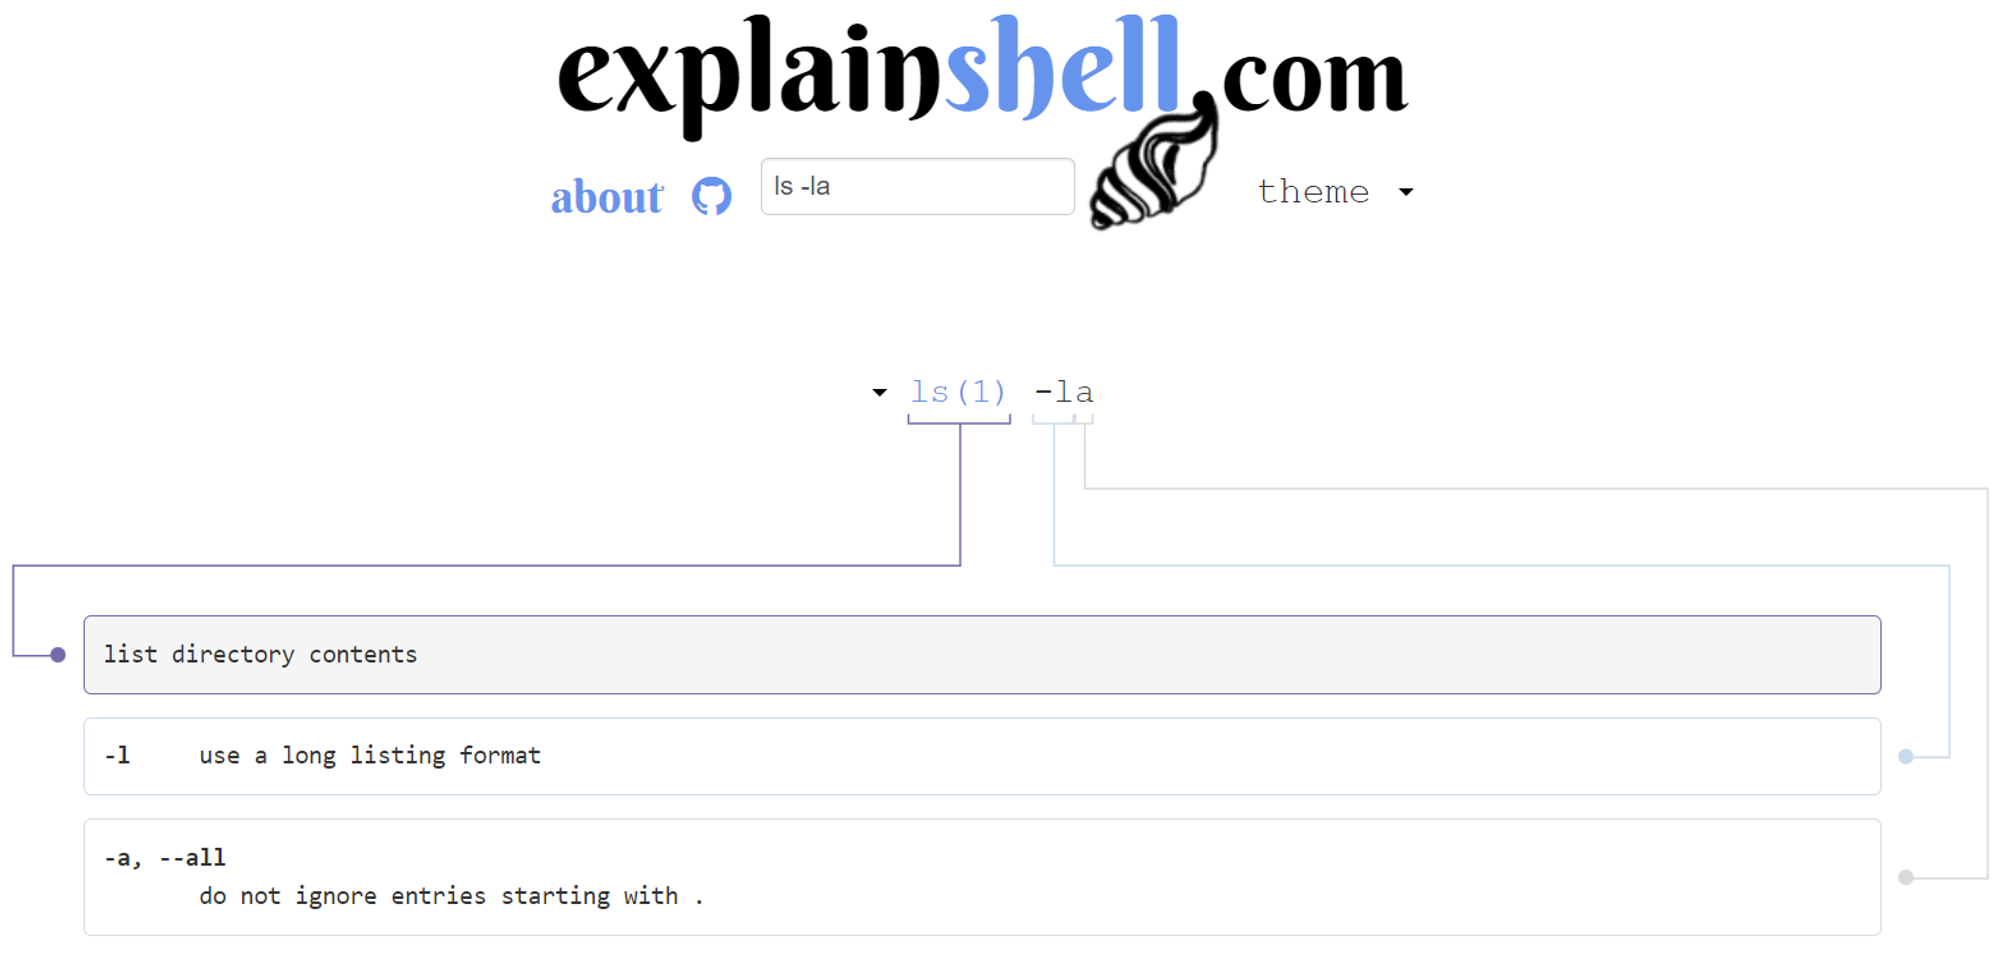
If you are ever confused about what a command does, explainshell.com can help you figure it out.


Cheat Sheets
Git It Done
Git is free and open source software for distributed version control.
Imagine writing a final paper with 3 classmates. Each of you writes a part of it and send multiple copies at different times to different people for edits. You will need to merge all the paragraphs and edits, likely conflicting, into one final draft - if that sounds chaotic already, Git is to your rescue.
What does Git do?
- Track changes
- Document changes with commits
- Branch from a commit for changes that won’t affect others
- Merge different branches onto each other
- Manage projects with repositories on a remote
- Clone a project to work on a local copy
- Pull the latest version of the project to a local copy
- Push local updates to the main project
What is GitHub?
GitHub is a private company owned by Microsoft. It is currently hosts the most number of git repositories and provides the best overall user experience for free. Alternatives include GitLab, Bitbucket, etc.
Getting Started
Set your git user name and email consistent to your GitHub account.
git config --global user.name "YOUR USERNAME"
git config --global user.email "YOUR EMAIL"
SSH (Recommended)
SSH is the most secure and convenient way to connect your local machine to GitHub.
Checkout this GitHub Docs for using it.
Working with Local Repository
In the
workshop folder, rungit init
This initializes the current directory as a Git repository. A hidden
.git folder is created to store the information. To delete the repository, remove the .git folder with rm -rf .git. Check Status
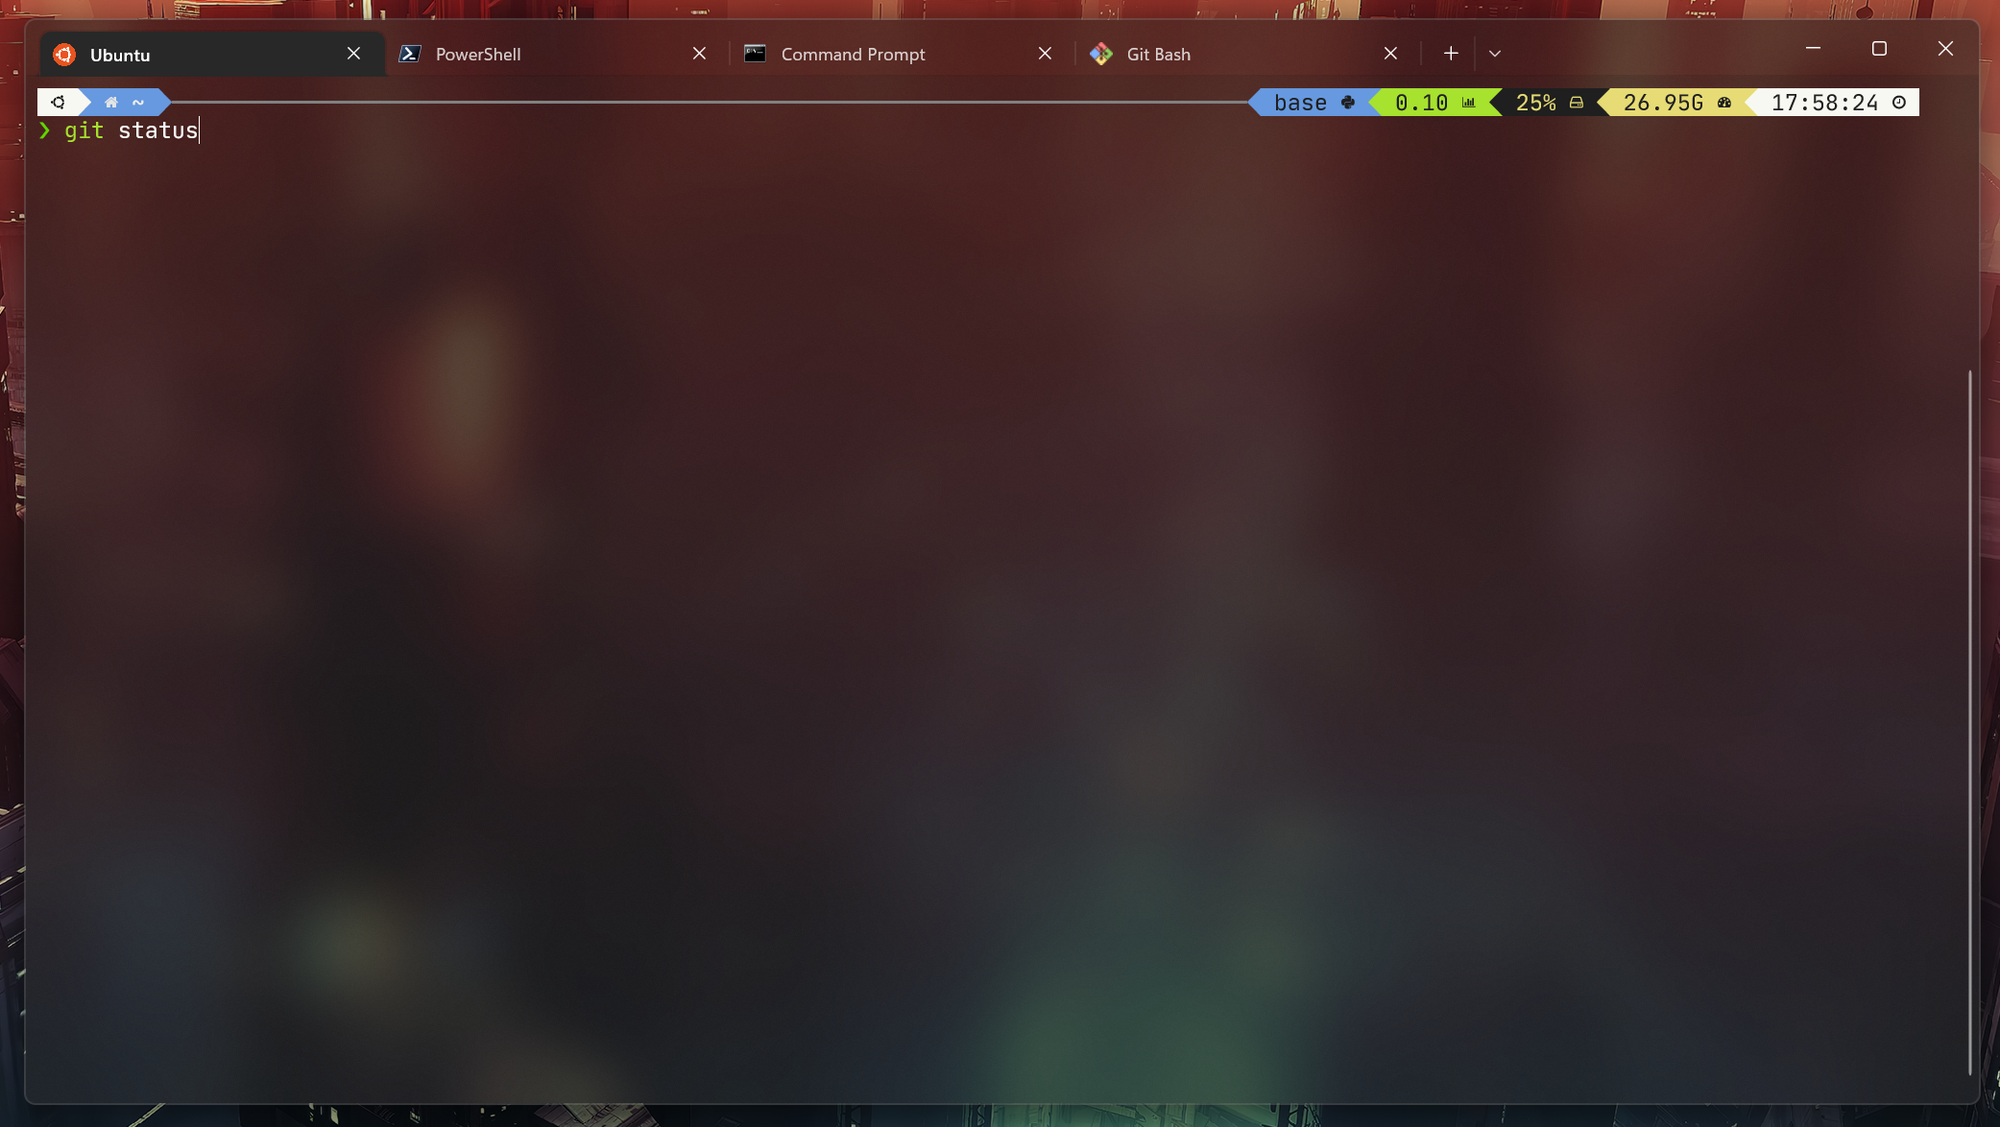
git status
This tells you what’s going on in this repository. Now, the
hello file should appear as untracked.Track File
git add hello
This allows git to start tracking this file. Now, type
git status again to confirm this. You can use
git add * to add all files or git add . to include folders as well. View Change
git diff --cached
You can see what changes you have made to the files being tracked by git.
Commit Change
git commit -m "added hello"
This creates a commit of your changes with a message. Commits can be thought of as snapshots or milestones along the timeline of a Git project.


It’s a good practice to write a descriptive message with each commit to tell others and remind yourself about what changes are made.
View Logs
git log
You can now see that your commit is recorded in the logs. Press
q to exit. Rename Branch
git branch -M main
This renames the current branch to main. Some legacy Git clients uses
master as the name for the default branch, which is deprecated due to political correctness.Create Branch
You can branch off from any commit (snapshot) in Git to make changes that won’t affect others. This creates a tree-like structure shown in the diagram below:

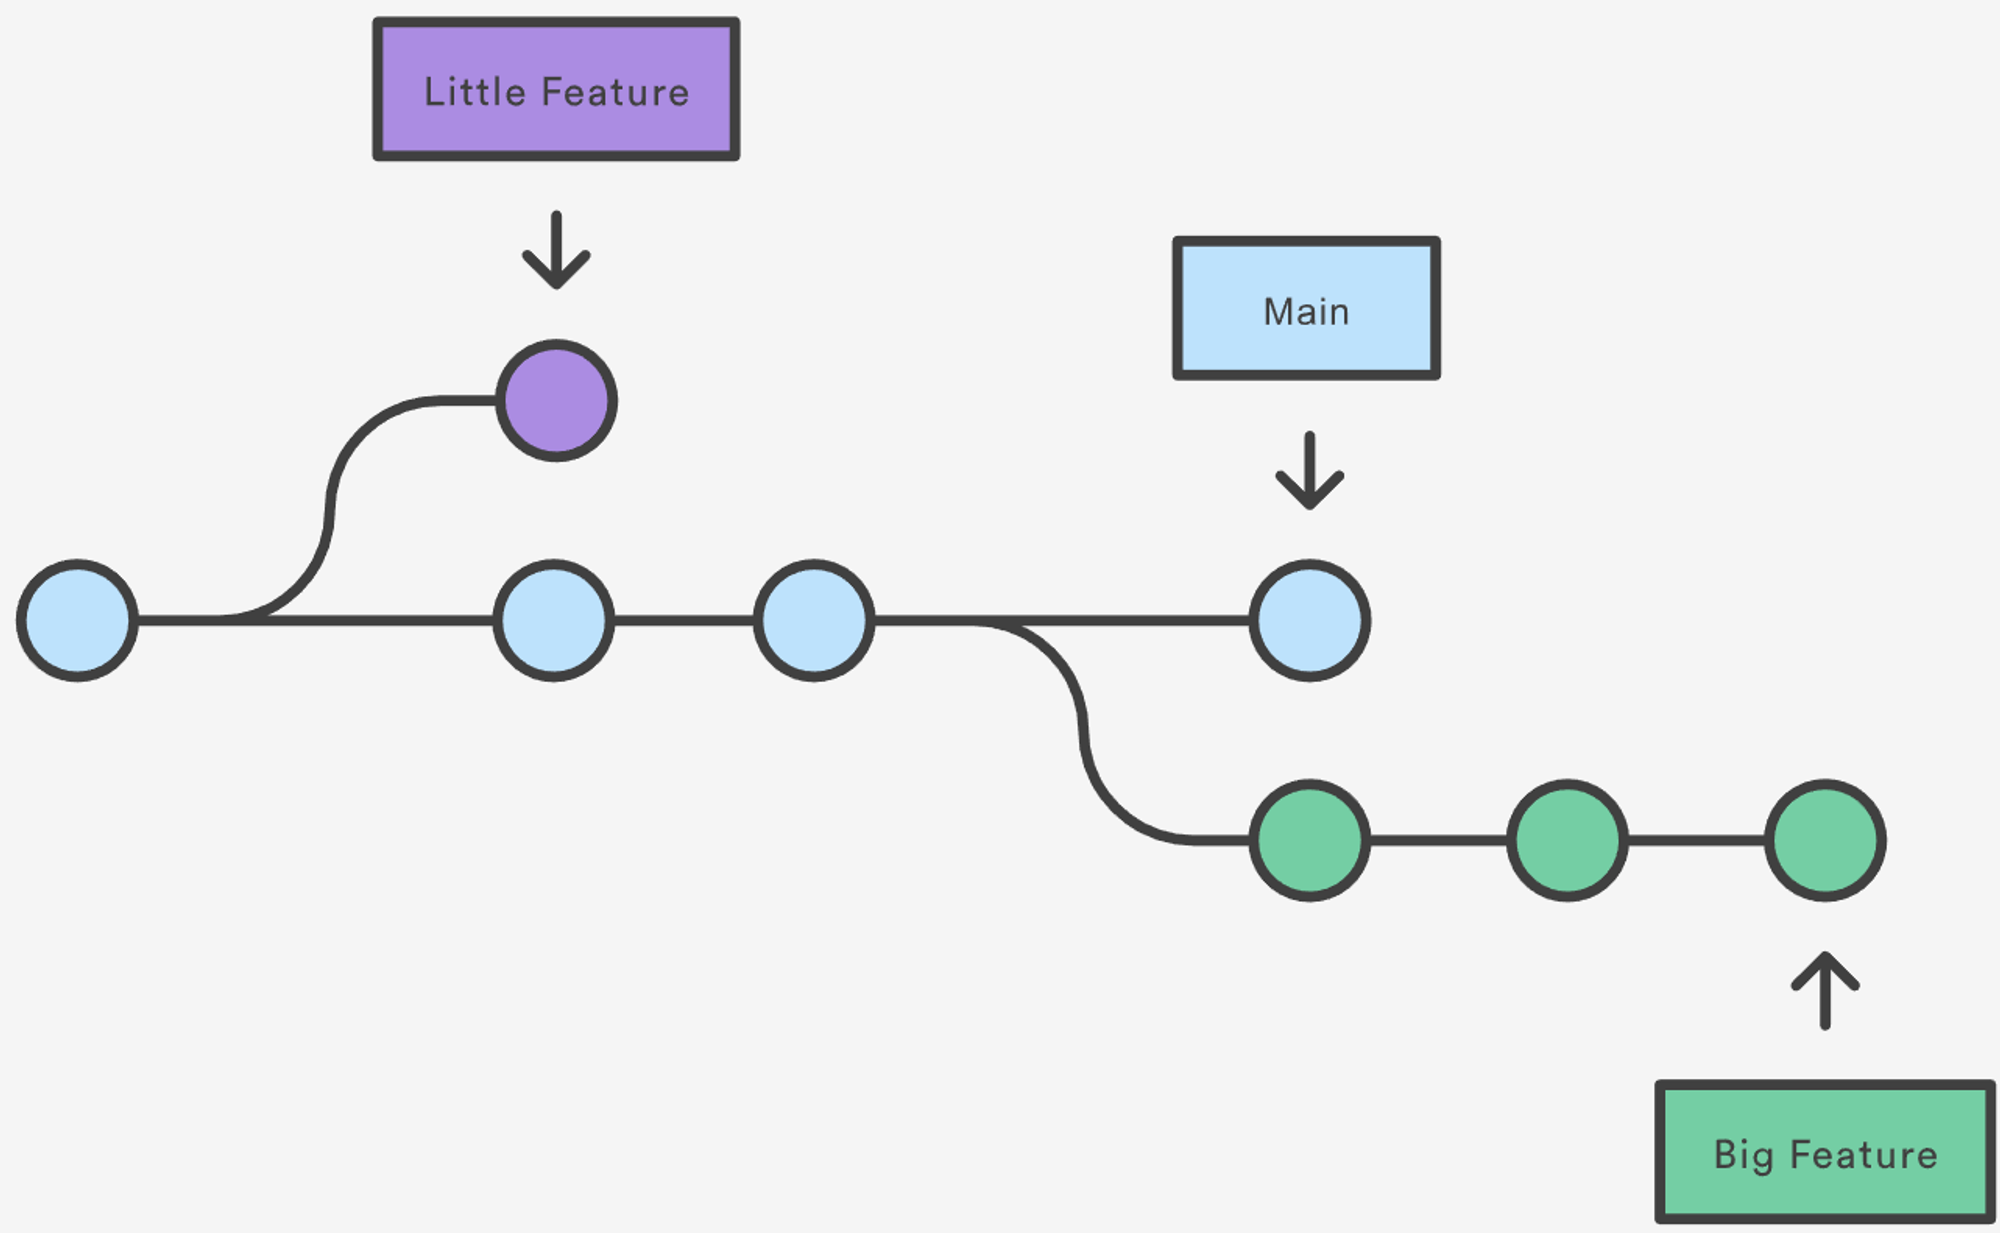
The default branch is called master or main. It represents the base of a repository or intuitively, root of the tree.
git checkout -b test
checkoutswitches to a different branch and carries all previous commits with it.
-bcreates new a branch if none exists yet from the default.
Our new branch should have the previous commit. You can use
git log to verify this. View Branch
git branch
You’ll get a list of all existing branches. Press
q to exit. To continue, make some changes to
hello or create a new file and commit the changes to the test branch. Switch Branch
git switch main
Switches back to the default branch without carrying the commits.
Merge Branch
git merge test
Your new commit on the test branch now merges back to the main/master branch! If the changes don’t conflict, you’re done. If there are conflicts,
git diff can display them. Once you’ve edited the files to resolve the conflicts, add them and create a new commit. Delete Branch
git branch -D test
Given that the merge is successful, we can now safely delete the test branch.
Creating Repository on GitHub
After you successfully created a repo, GitHub tells you how you can push an existing repository.
Add Remote
git remote add origin https://github.com/<USERNAME>/<REPO_NAME>.git
remote simply means a place that hosts your repository. Here we create a remote called origin and sets its url to what GitHub provides you. Push Changes
git push -u origin main
Now, commits and branches in your local repository are pushed to GitHub. You can open the URL to see your code there.
Using Git for Collaboration
You will learn how to work with a public GitHub repository and receive an animal avatar at the end!
Workflow
To propose changes to someone else's project, we follow these steps:
- Fork the repository
- Make the fix
- Submit a pull request to the project owner
Fork Repository
A fork is a copy of a repository. Forking a repository allows you to freely experiment with changes without affecting the original project.
- Open Jkker/git-animal
- Give a star for karma (jk)
- Click fork


Clone Repository
You should now have a copy of this repo in your own account. Copy the URL and clone it locally with this command
git clone https://github.com/<YOUR_USERNAME>/git-animal

cd git-animal
Make Changes
Try to do these steps on your own what what we’ve just learned. However, if you run into any problem, feel free to peak at the commands below.
- Create a new branch that has the same name as your GitHub account' user name
- Create a new file with your user name
- Add some content
- Add the file
- Commit the changes
- Push the changes
git checkout -b <BRANCH_NAME>
echo "hello world" > FILE_NAME.txt
git add .
git commit -m "created FILE_NAME.txt"
git push -u origin <BRANCH_NAME>
Create Pull Request
Your changes should now be in your GitHub fork already. For the original repository to accept those changes, you need to submit a
pull request. It means that you are requesting the original repository to pull the changes from your repository. - Open your repository in the browser
- Go to the Pull Request tab and click New pull request

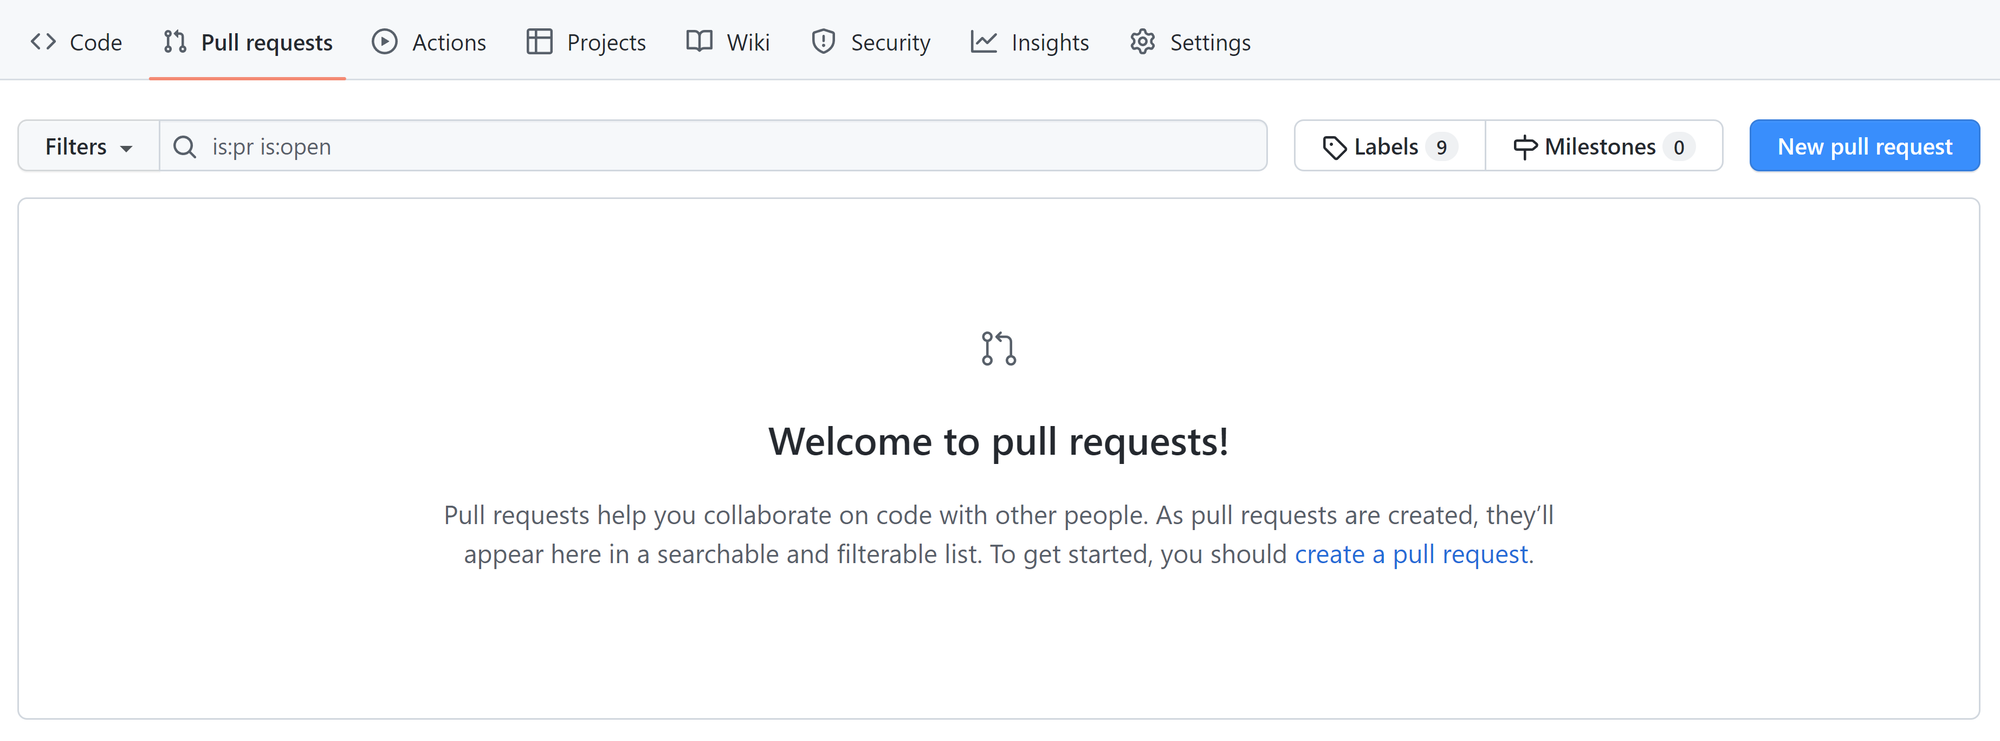
- Verify that base repository on the left should be the original repository; head repository on the right should be your fork.

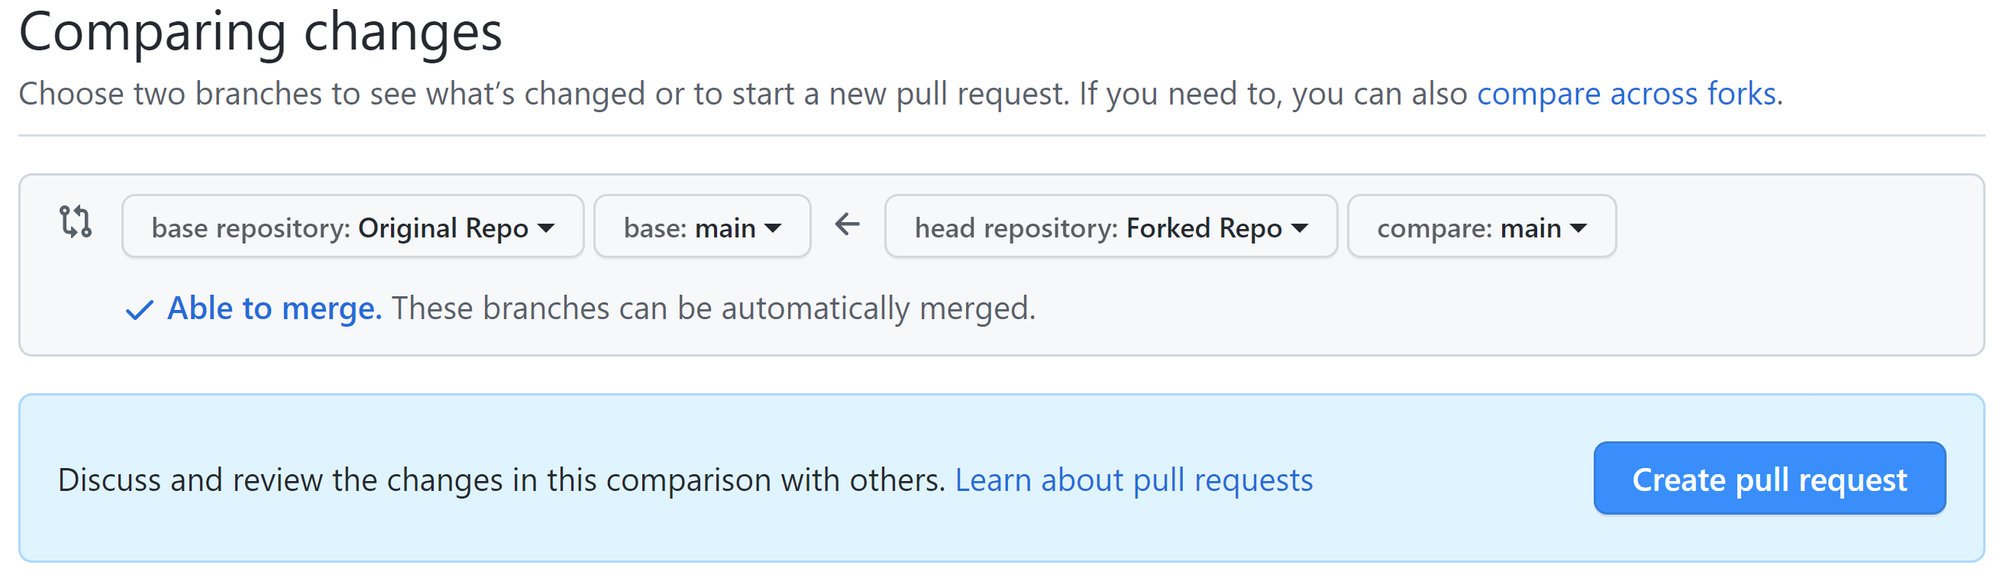
- Write a meaningful title & create the pull request!
Now check out the comment section to receive your animal avatar 🐱.
Resources
Git Cheat Sheet By GitHub

Git is hard: messing up is easy, and figuring out how to fix your mistakes is impossible. This project comes to your rescue if you run into problems with Git.


